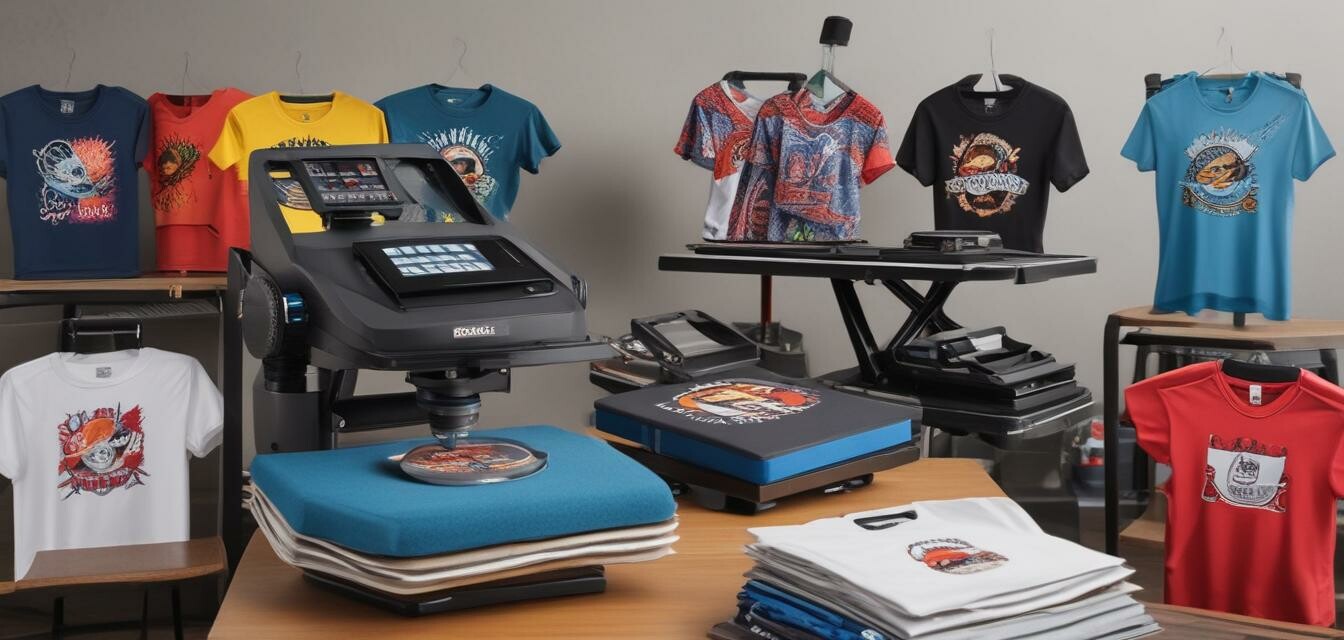
Creating Custom Merchandise Using Heat Press Machines
Key Takeaways
- Understand the basics of heat press machines for effective merchandise creation.
- Choose the right materials for your projects to achieve the best results.
- Follow a step-by-step process for designing and executing your custom merchandise.
- Find creative ways to market your custom merchandise for events or resale.
- Regular maintenance of your heat press machine ensures longevity and optimal performance.
Creating custom merchandise can be a fun and fulfilling way to express creativity, promote events, or generate income through resale. Heat press machines offer a reliable and efficient method for transferring designs onto various surfaces, especially t-shirts. In this article, we will guide you step-by-step on how to create amazing custom merchandise using heat press machines. Whether you're a hobbyist or looking to start your own small business, our tips will help elevate your skills and results.
Understanding heat press machines
Heat press machines use heat and pressure to transfer designs onto materials. They come in various styles including clamshell, swing-away, and multifunction models. Each type serves a distinct purpose and is suited for different project needs. For more information on the various options available, check out our Buying Guides.
Types of heat press machines
| Type | Description | Best for |
|---|---|---|
| Clamshell | Easy to use with a top-down design. | Beginners and simple design transfers. |
| Swing-away | Offers better heat distribution by swinging the top plate away. | Diverse projects including thicker materials. |
| Multifunction | Can apply heat and pressure using multiple attachments. | Advanced users requiring versatility. |
Choosing the right materials
The choice of materials is key to the success of your custom merchandise. Here’s a list of common materials used with heat press machines:
- Heat transfer vinyl (HTV)
- Sublimation paper
- Fabric (cotton, polyester, blends)
- Paper (for prints)
Be sure to choose high-quality materials that suit your target designs. For a guide on materials best suited for heat pressing, check out our News and Trends section.
Step-by-step guide to creating custom merchandise
Step 1: Design your graphics
Use graphic design software to create or modify your designs. Ensure your images are in the right format (SVG, PNG, etc.) and at a high resolution for clear prints.
Step 2: Prepare your materials
- Cut your chosen material to size.
- Design and cut your graphics using an appropriate cutting machine.
- Weed out any excess vinyl from the design.
Step 3: Set up your heat press machine
Follow these guidelines:
- Adjust the temperature and pressure according to the material used.
- Preheat the heat press for even heat distribution.
Step 4: Transfer your design
Place the material on the heat press, position your design, close the press, and apply heat for the recommended time. Once done, carefully remove the design.
Step 5: Finishing touches
Inspect your merchandise and make any necessary adjustments. Allow everything to cool before packaging for sale or gift giving.
Marketing your custom merchandise
Once you’ve mastered the heat press technique, it's time to share your creations! Here are some effective marketing strategies for your merchandise:
- Create an online store or use platforms like Etsy.
- Utilize social media for promotions and showcasing your work.
- Attend local craft fairs or markets to reach potential customers.
Maintenance tips for heat press machines
To keep your heat press machine working optimally, consider the following maintenance tips:
- Regularly clean the platens to avoid residue buildup.
- Check and adjust the temperature and pressure settings as necessary.
- Inspect cords for any damage and replace if needed.
Pros
- Versatile and easy to use for various projects.
- Cost-effective method for creating custom merchandise.
- Offers professional-looking results.
Cons
- Initial setup and learning curve may take some time.
- Requires upfront investment in equipment and materials.
Conclusion
Creating custom merchandise using heat press machines is an exciting venture that allows for a blend of creativity and entrepreneurship. By understanding the equipment, material selection, and following a systematic approach, anyone can achieve remarkable results. With regular maintenance, your heat press will serve you well for years to come, helping bring your unique designs to life.